Browsing Category

Holidays

Holidays

Holiday Gift Guides 2023: Shopping Small Businesses

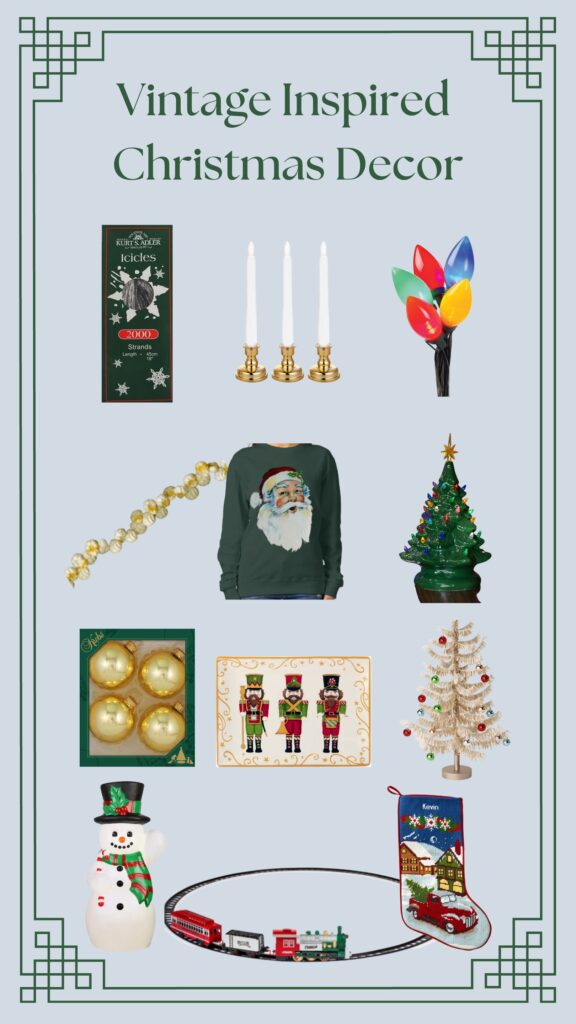
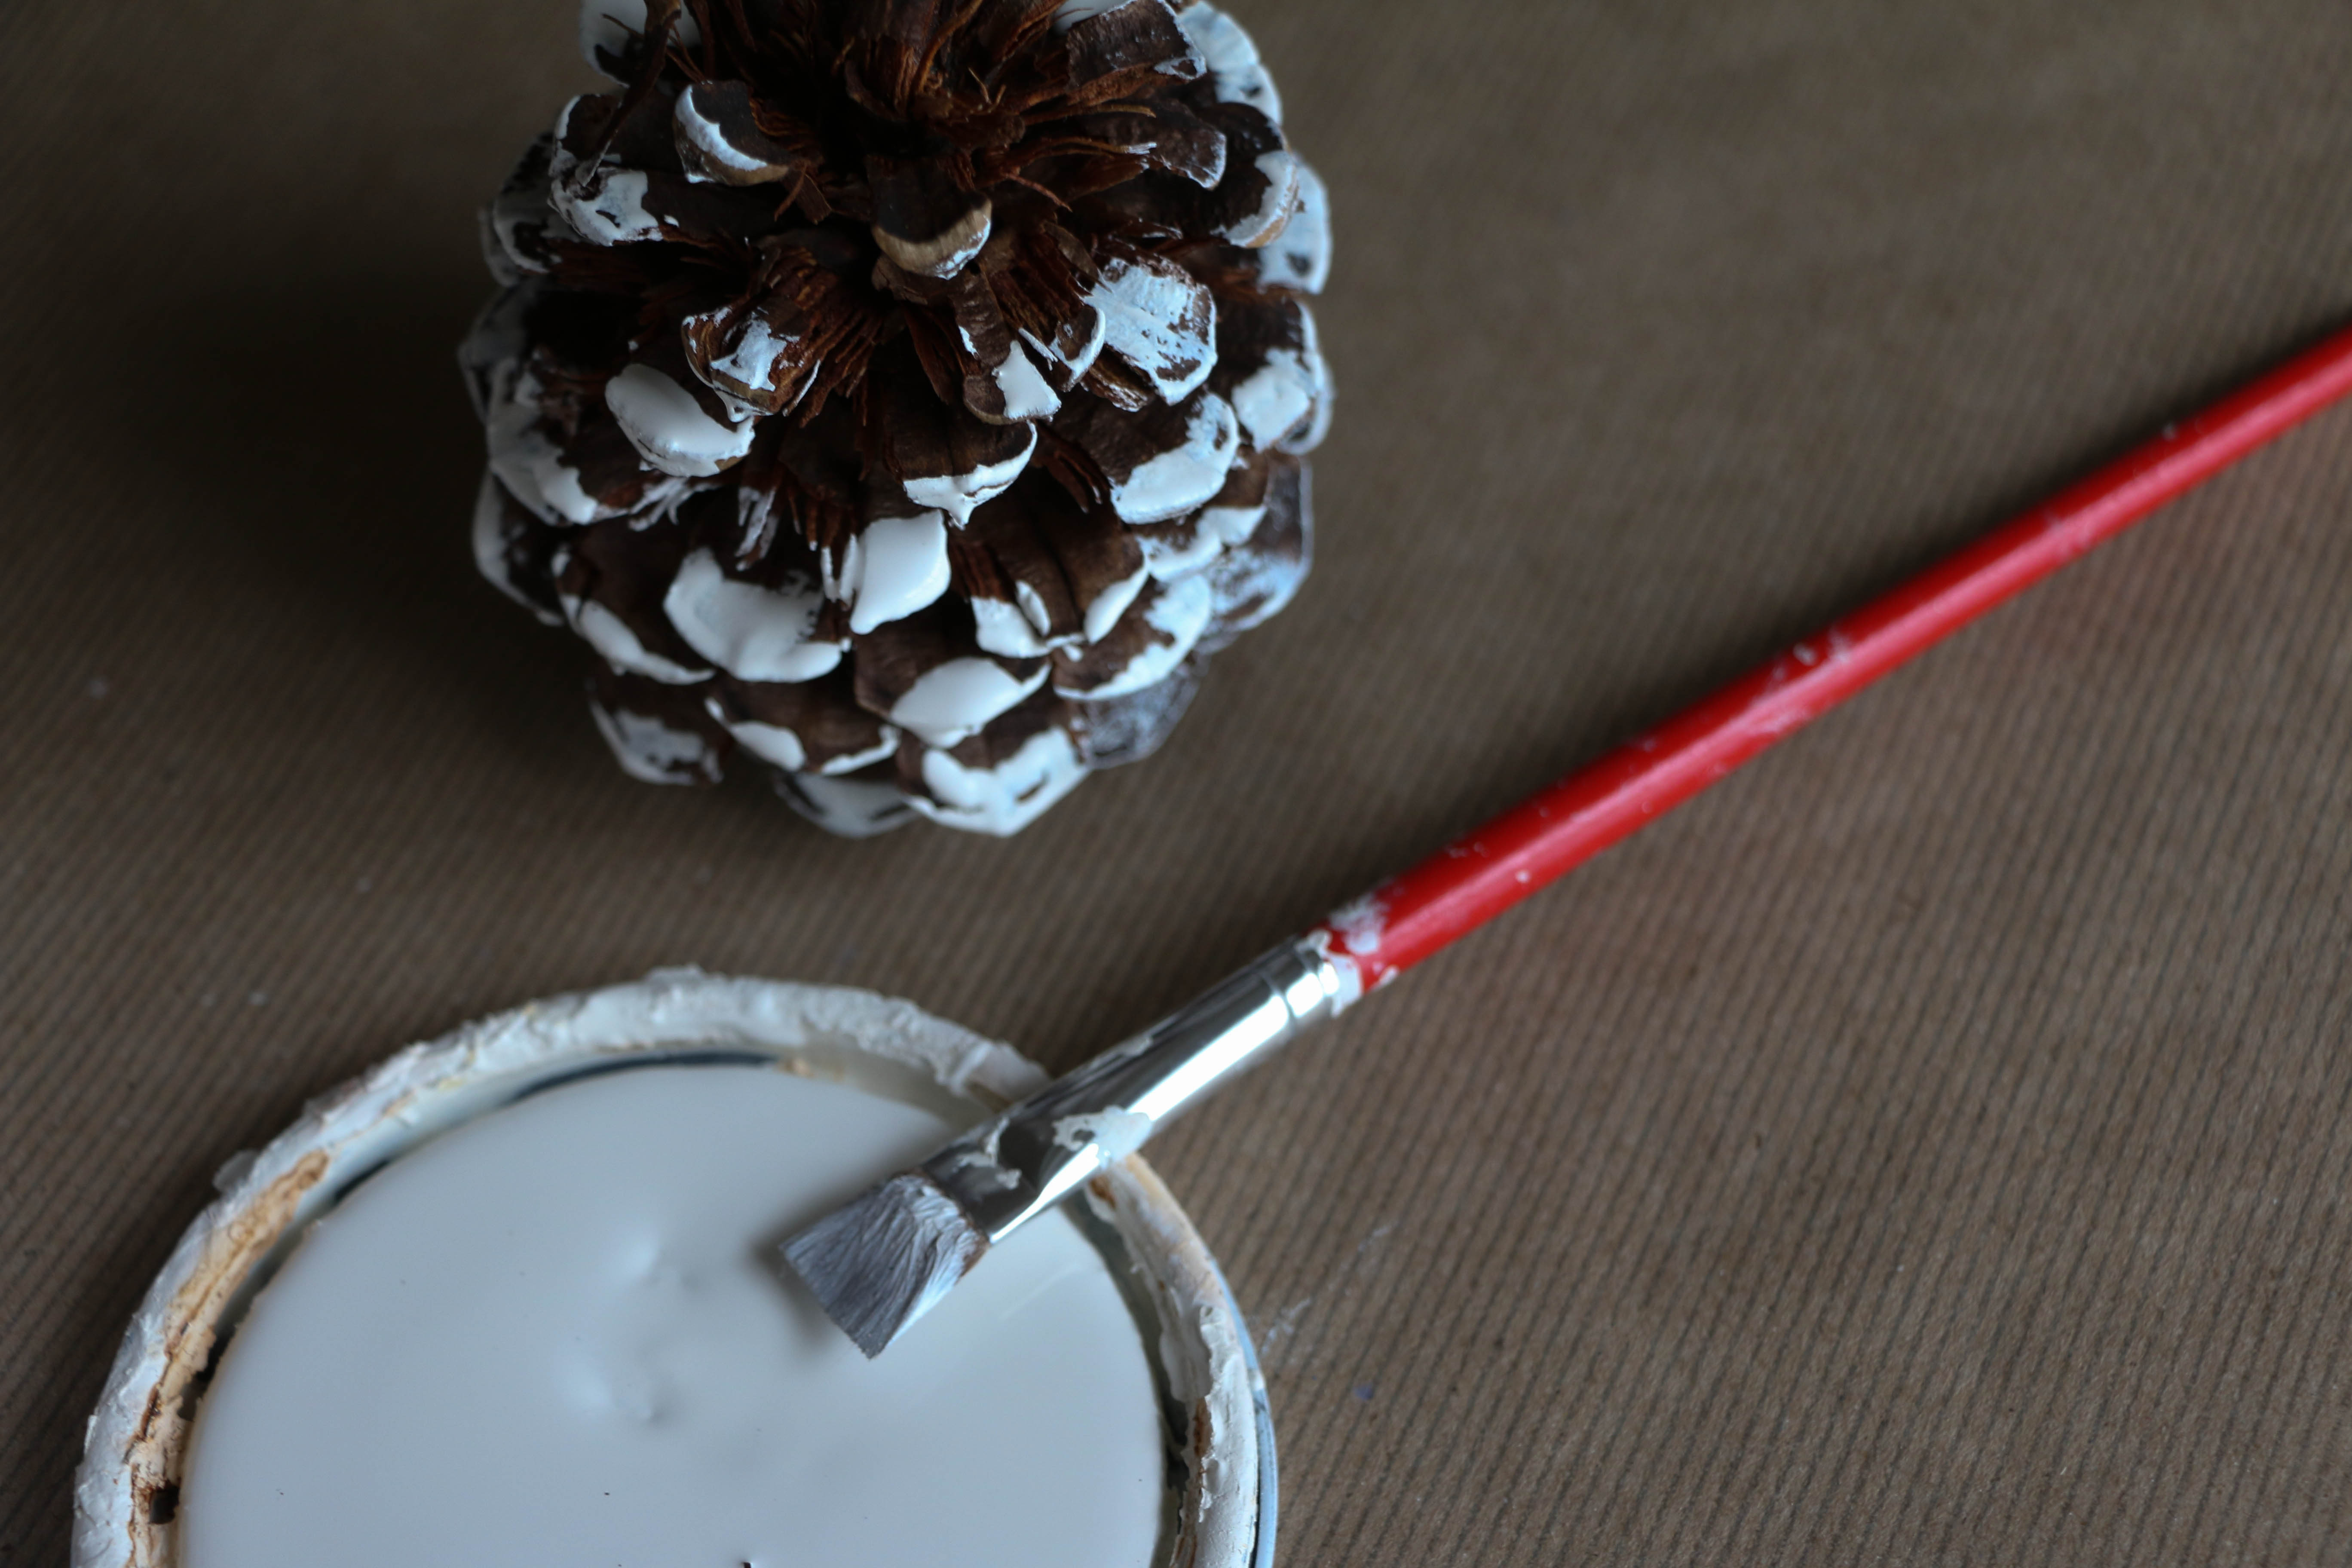
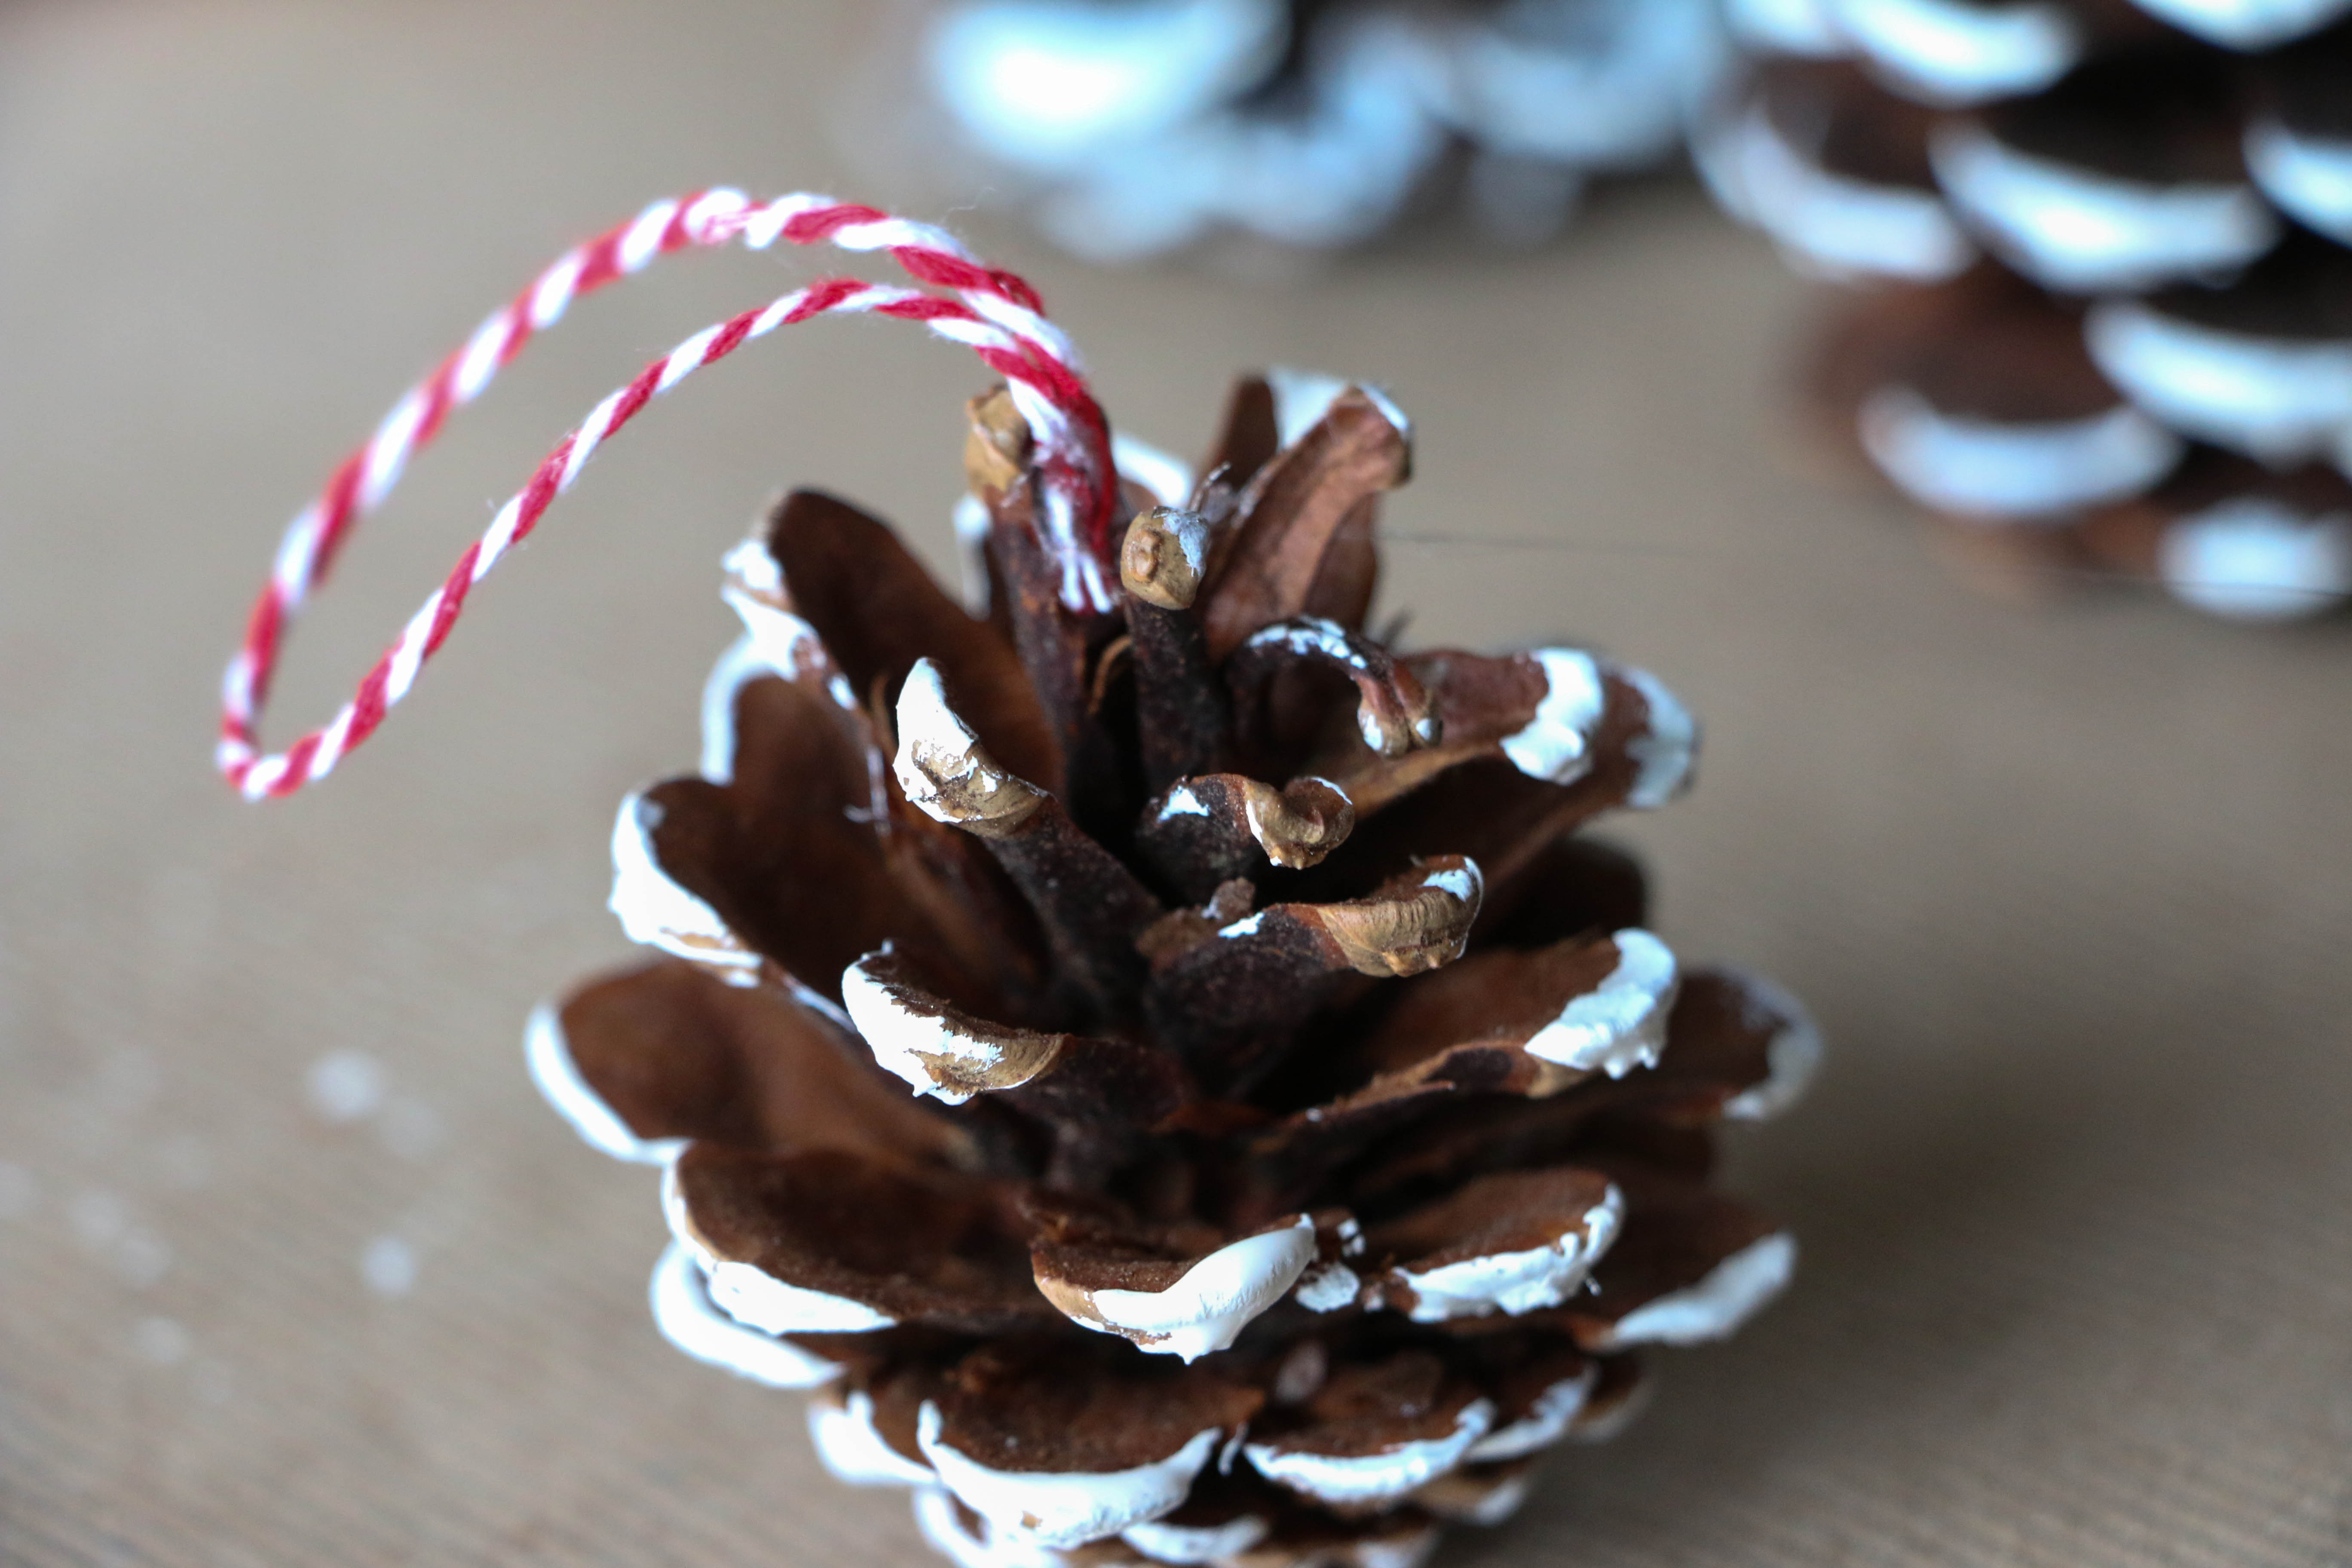
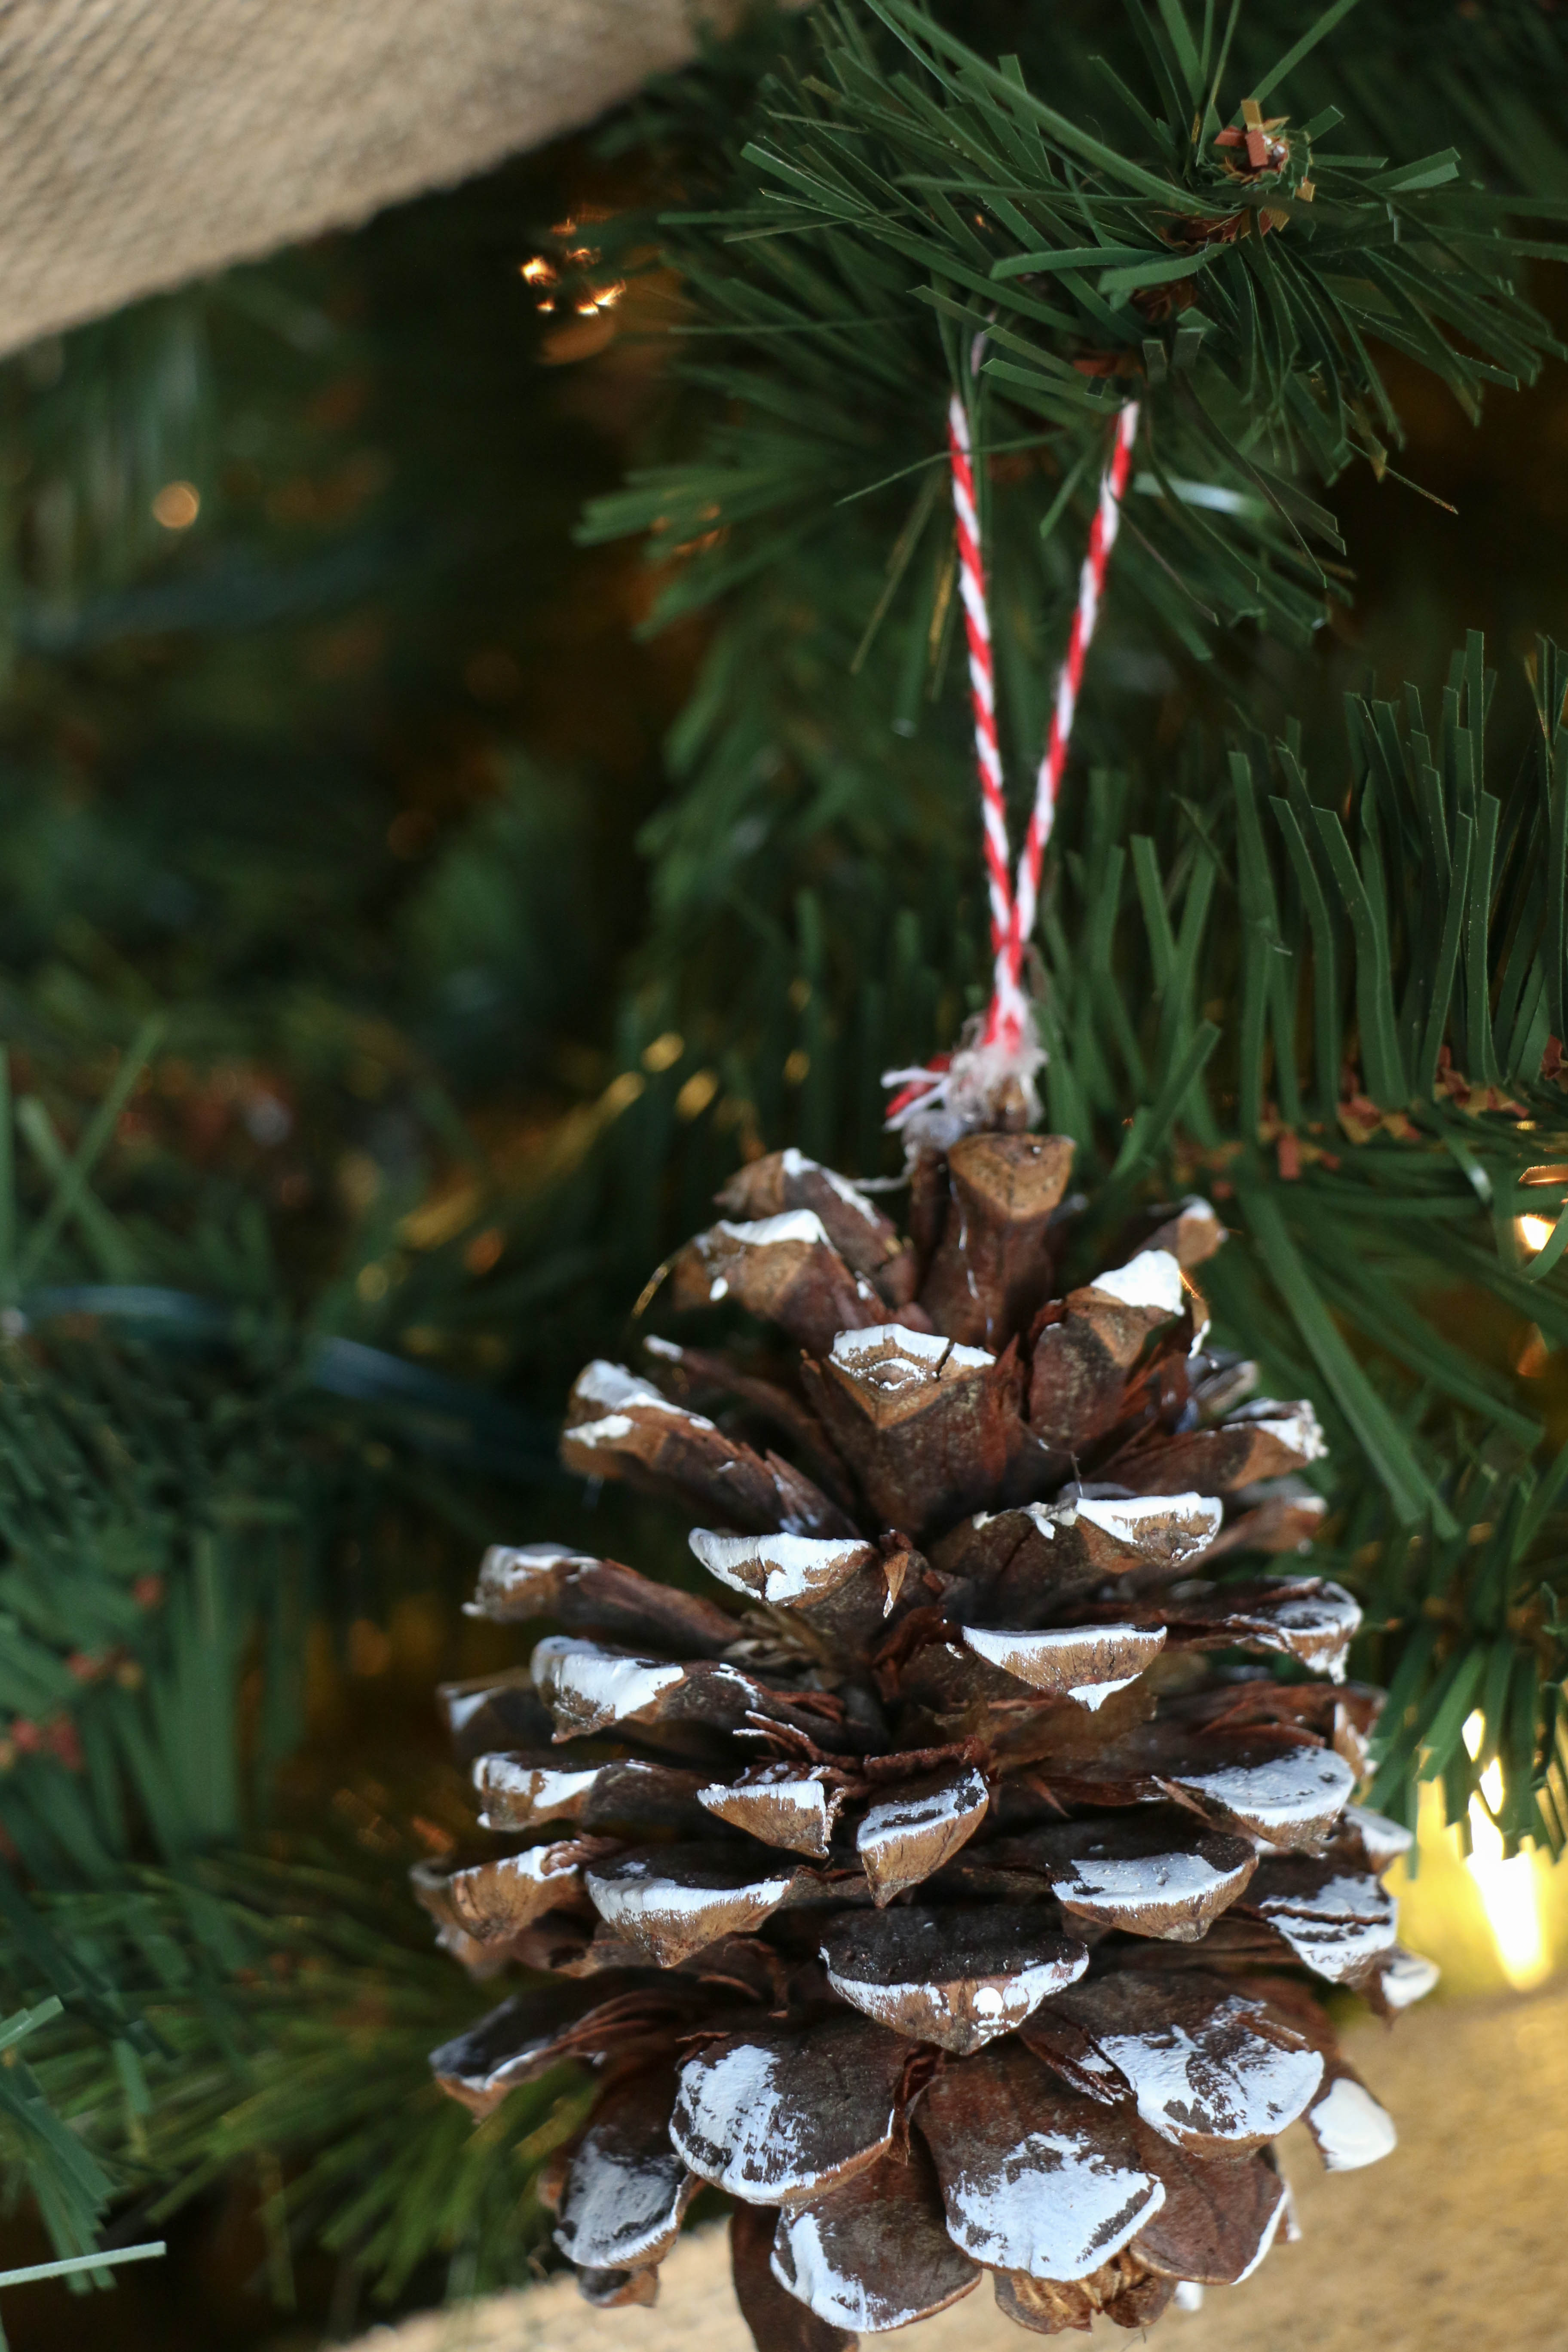
The holidays are just around the corner! The busiest time of year and if you’re like me, I’m frantically making lists of the people to buy for. We try to be pretty intentional with the amount and types of gifts we buy around the holidays, especially with our kids, and fully support shopping second hand when possible. I even wrote a full post about it a few years ago!

However, I know secondhand shopping isn’t always possible, so I wanted to come up with some ideas for the next best thing: small businesses. I gathered a bunch of ideas of things we have or have on our own lists. A lot of the items offered are customizable, which is such a thoughtful addition to any gift, in my opinion. So without further ado, my small business gift guides.

For Her:

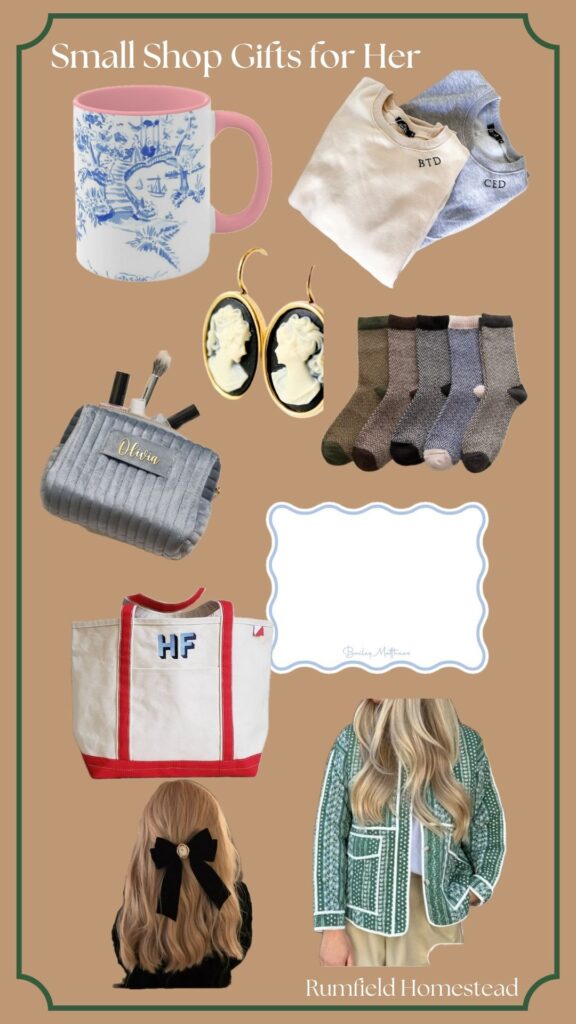
Chinoiserie Mug – hello, this is my idea cup of tea. Monogram Sweatshirt – I love the subtle initial detail, it feels more elevated than the monograms of the last decade Cameo Earrings – need I say more? Wool Socks – I have reached the age where I’m actively asking for socks Custom Tote – this shop seems to have a sense of humor and is open to embroidering silly phrases on them. Mine might read, “mom stuff” or “brand name” Personalized Stationery – how darling is this? Vintage Style Bow – willing my hair to grow so I can rock this Quilted Jacket – On my list for forever! I love this green color!

For Him:

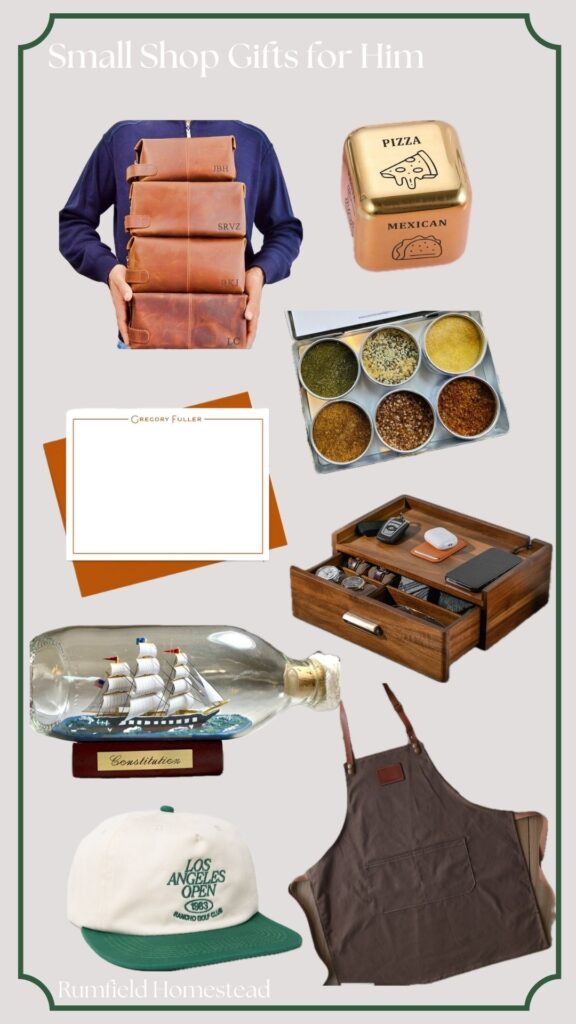
Leather Toiletry Bag – These are so clean looking! Food Order Dice – how funny is this? Good for a white elephant or a couple that struggle deciding what to eat each night (don’t ask me!) Personalized Stationary – comes in several color options! Gourmet Popcorn Seasonings – we love popcorn over here! Model Ship in a Bottle – what is the masculine urge to look at model ships like some kind of sixteenth century explorer? Ethan has one in his office, but I have to admit it IS cool. Accessory Box – keep ALL THE THINGS organized. Honestly men should just carry purses, it’s much easier. But this is the next best thing, I suppose. Vintage Style Golf Hat – So cool, right? Grilling Apron – it’s like an apron, but you know, for men.

For Kids:

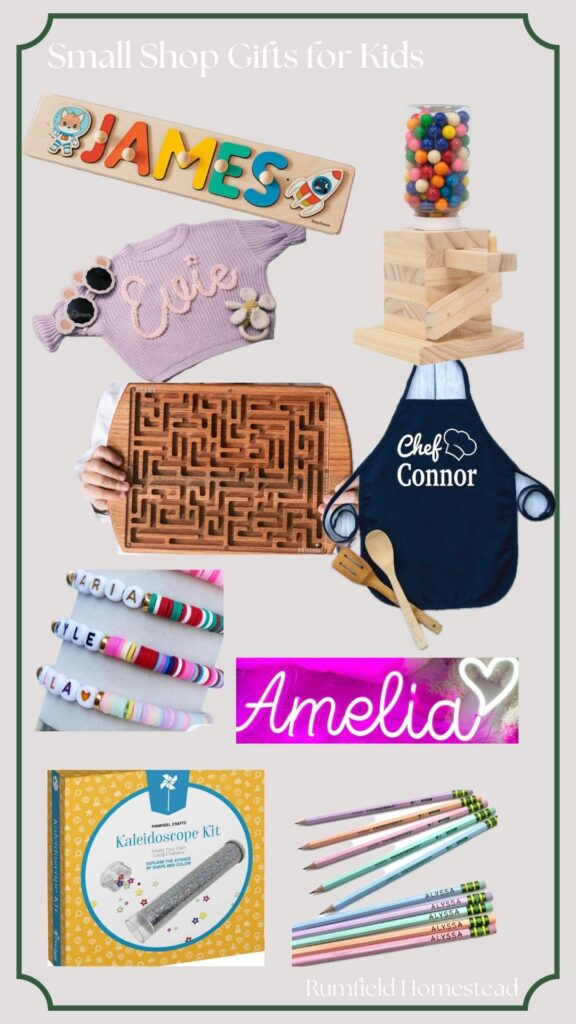
https://rstyle.me/+jYsgU4yh_Ax6Iyy02asX1wPersonalized Name Puzzles – such a sweet gift for any baby to pre-school age kid Gumball Machine Kit – this is actually a set that you build yourself, my five year old would LOVE this. Name Sweaters – This shop carries these in sizes up to 5T Wooden Maze – this is such a cool gift idea! It’s also customizable on the back Name Apron – I bought these for my older two a few years ago, and my youngest is getting one this year. Such a great non-toy gift for kids who like to bake. Custom Friendship Bracelets – Elementary school age girls would love this! Neon Name Sign – imagine the cool kid status of a kid with a neon sign of their name in their room? I mean come on! Kaleidoscope Kit – this is a make it yourself set, which I love! Custom Pencils – would be a great stocking stuffer!

For Hosts/Teachers/Neighbors:

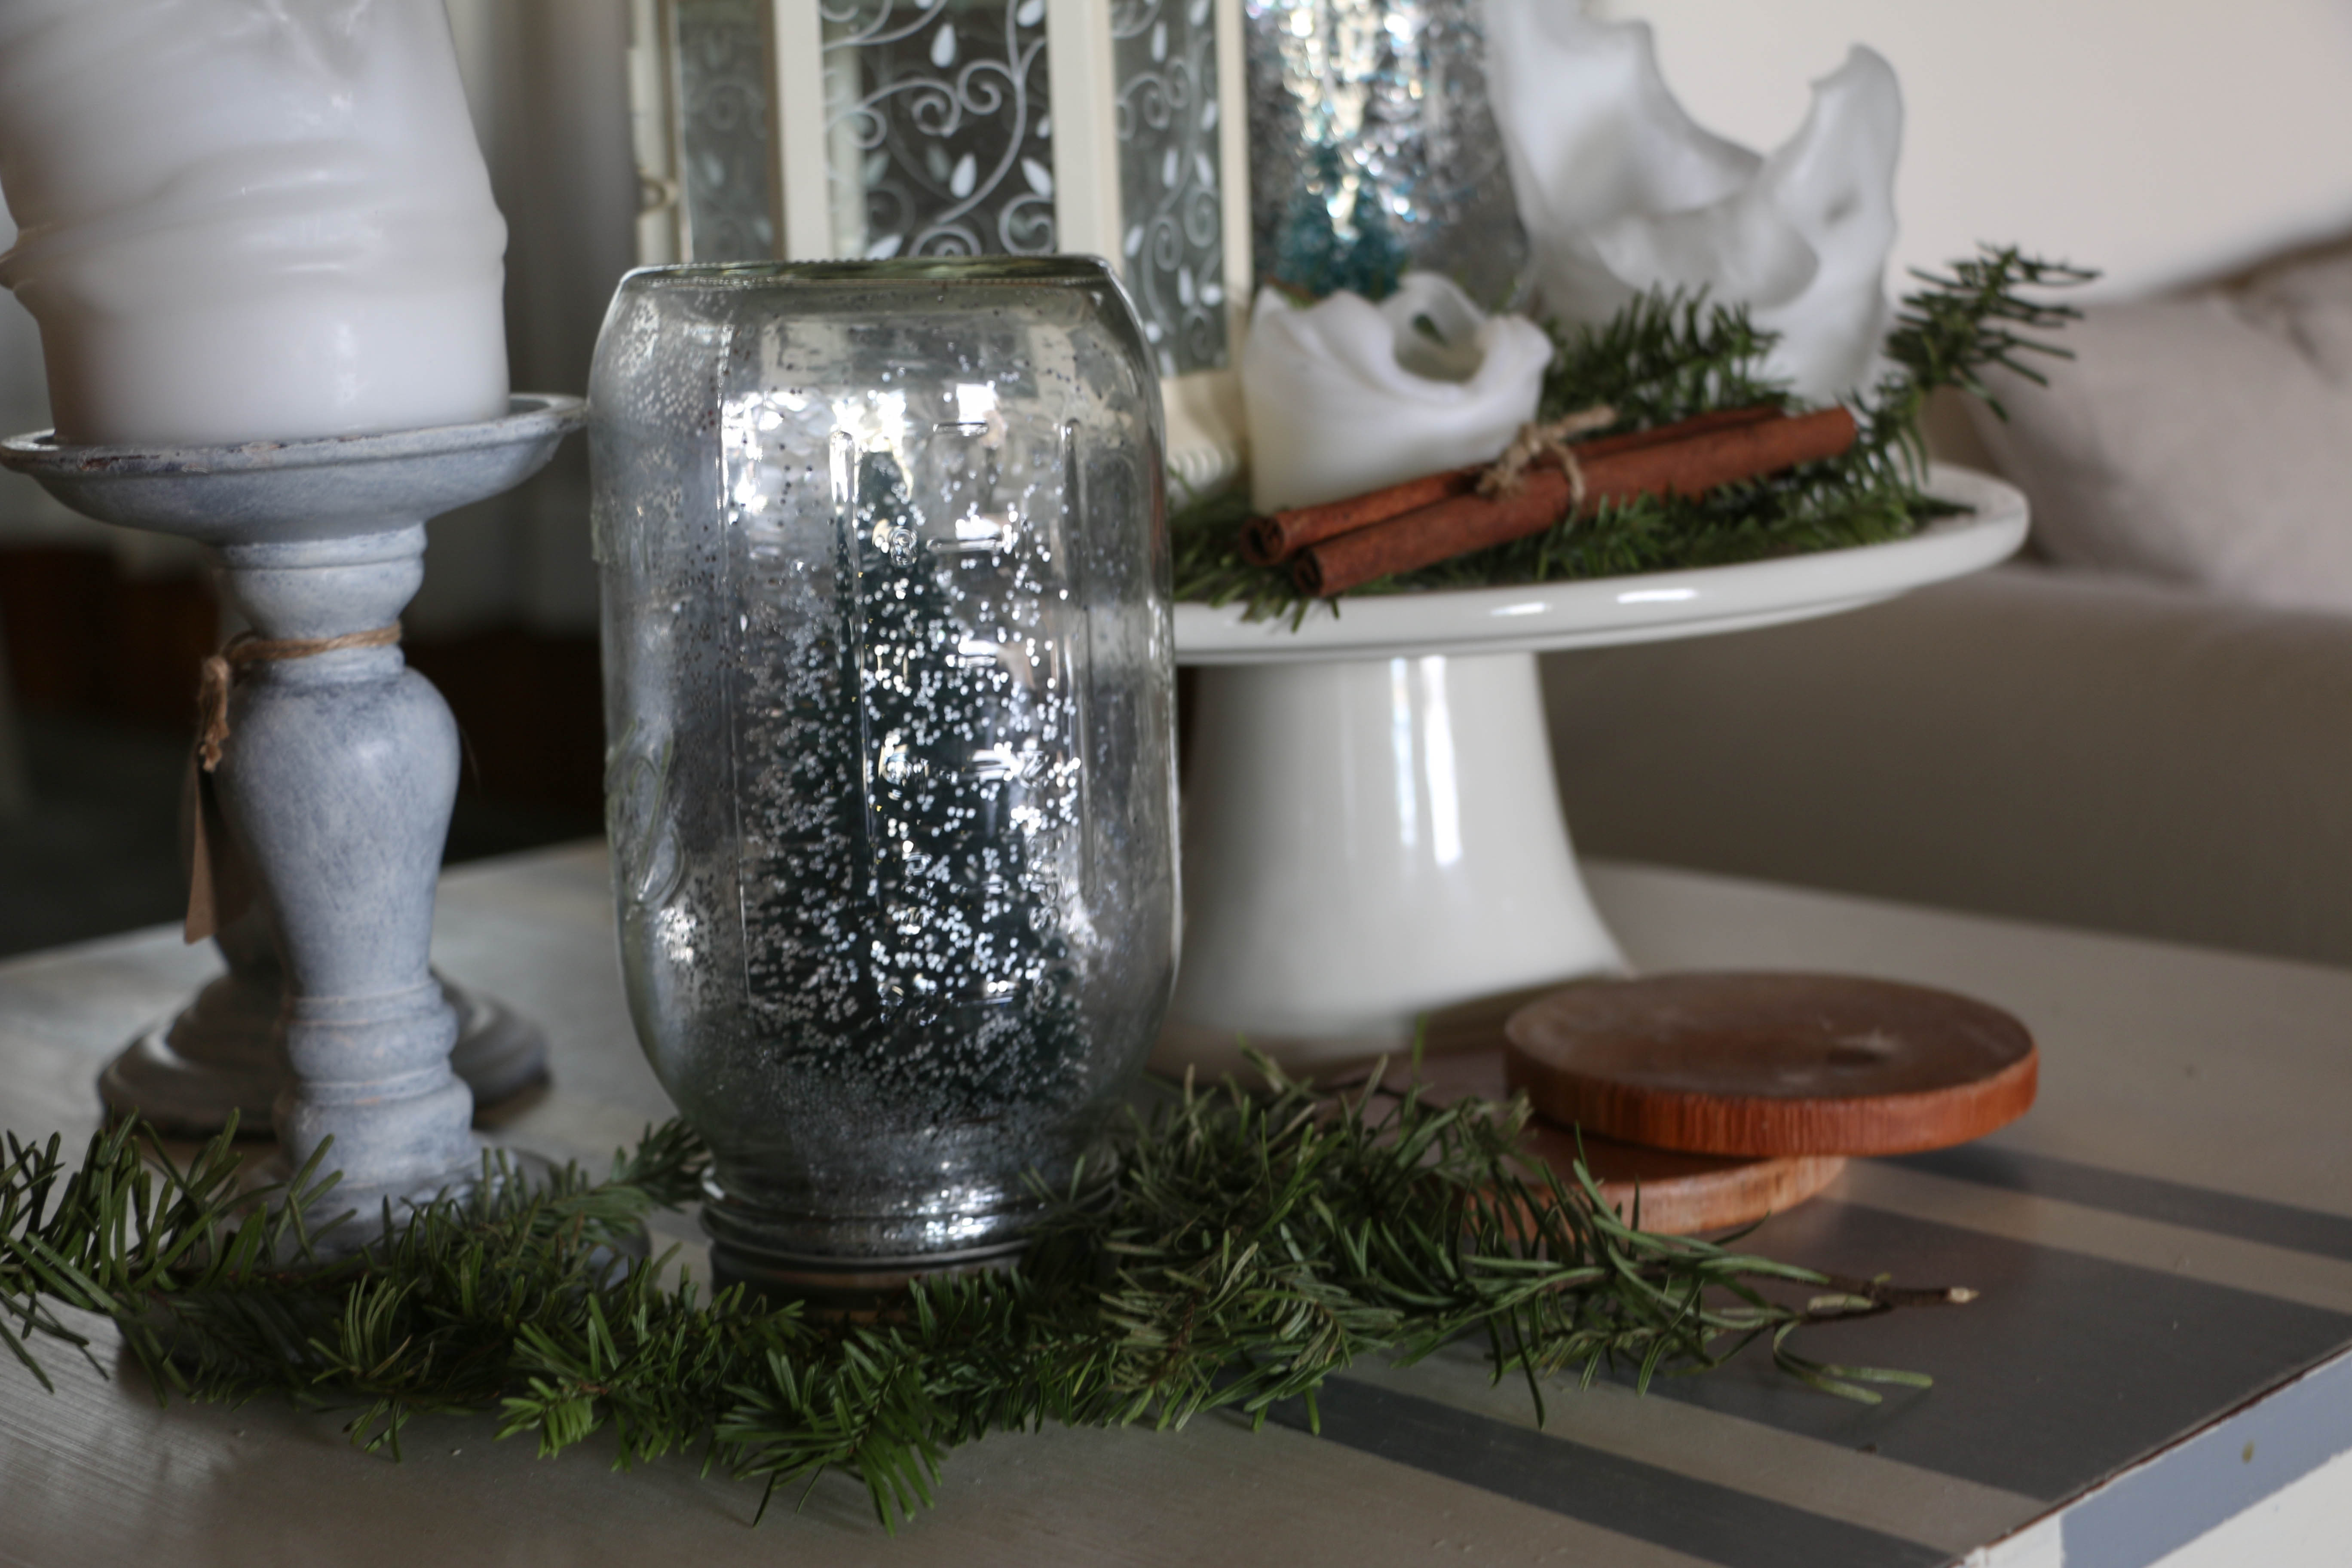
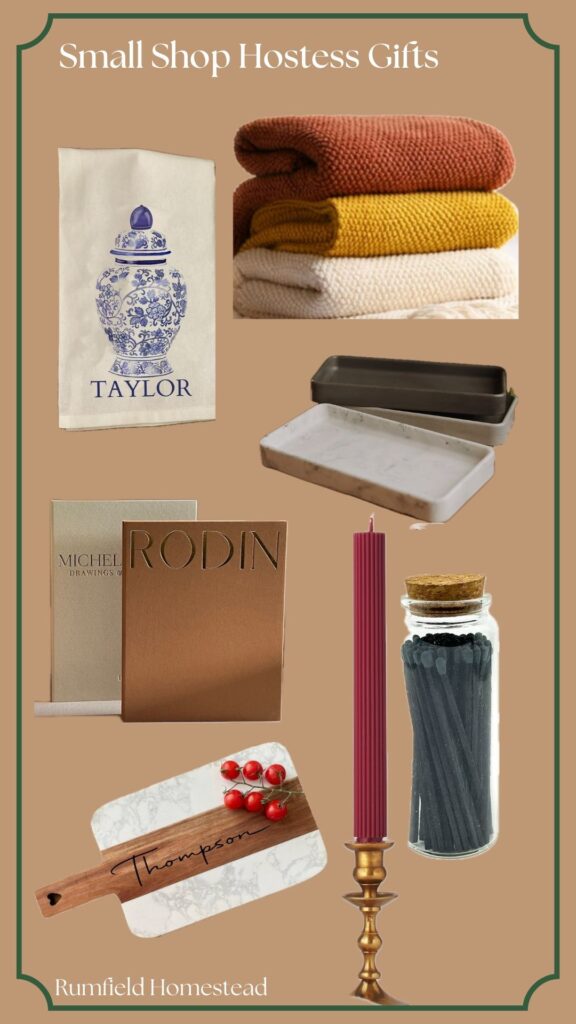
Custom Tea Towel – I had to throw some blue and white in here somewhere! Knit Throw Blanket – I don’t know about you, but I could always use another designated couch blanket Coffee Table Book Boxes – these are actually boxes to hide remotes and things in. I want some for myself! Concrete Tray – Pair with something homemade, and it’s an easy gift Personalized Cutting Board – I just love these for someone who loves to bake Beeswax Candles – the color options on this are lovely, and I love the ribbed detail Extra Long Matches – pair these elevated matches with a candle and it’s a super chic gift

Holidays

Vintage Inspired Christmas Decor

Can you believe the holidays are already upon us? It seems to come faster every year. I know it’s a little early, but I’m already thinking about my holiday decor. I usually try to keep some kind of theme or color scheme throughout my decorations so I don’t get tired of the same things year after year. Plus, I enjoy creatively putting together a new arrangement.

This year, I’m going for all things “Grandma’s House.” If I can imagine it being present at my grandmother’s house, it’s in. I’m looking back at midcentrury family Christmas photos and drawing inspiration from them. My biggest triumph this year has been slowly collecting boxes of Shiny Brite ornaments throughout the year at estate sales. You know the ones: the simple colorful ball ornaments. And of course, lots and lots of icicle tinsel.

I gathered up some holiday decorations that give of the Grandma’s House vibe, in case you want that vintage look this year too, without the time commitment of searching high and low for authentic vintage pieces.

Icicle Tinsel – I think this is the biggest impact for that classic look!

Window Candles – I bought a set several years ago and have been so happy with them. The house looks so cozy every time we drive up in the evening. They are on a timer too, which is so nice!

String Light – I remember my Great Grandmother’s tree having the giant C9 bulb lights, and it would be so well lit, the whole tree was radiating heat. These are LED so you won’t have to worry about the fire hazard like the days of old, but there’s something so sentimental to me about the big old string lights.

Popcorn Garland – I strung my own popcorn string, and you can totally do that too, but if you have dogs or children prone to eating edible things off the tree, they make artificial popcorn garland! Consider my mind blown.

Santa Sweatshirt – I had to include this because it’s just so cute!

Ceramic Tabletop Tree – You know your Grandma had one of these!

Classic Ornaments – These are the closest I could find to that old style classic bulb ornament. They come in lots of colors, so with a good mix of colors, you might be able to trick the eye into thinking they’re older.

Nutcracker Serving Platter – Is it even Grandma’s House without a kitschy serving platter? So cute for cookies!

Mini Tinsel Tree – This would be so fun on a tabletop or in an office!

Snowman Blow Mold – I have seen old blow molds at flea markets and antique stores plenty of times, but I had no idea Home Depot still made them!

Christmas Tree Train – Last year, we went on a Christmas home tour, and one of the houses had a train around the tree. My son, who was three at the time was absolutely mesmerized. It’s so joyful for kids and adults, I think!

Needlepoint Stockings – and of course, it wouldn’t be a vintage style Christmas without needlepoint stockings! Now, if you don’t have the antiquated skill of needlepoint (me!), you can buy them! These come in a bunch of different patterns and you can have your family member’s name embroidered on it!

I hope you have fun decorating this year, and however you choose to decorate, it brings you that warm and sentimental feeling of Christmases gone by. That’s all for today, have a fabulous day!

Holidays, Home Decor

Free Downloadable Art Prints for Fall

Hi! Glad you’re here! It’s September first, which naturally means it’s unofficially fall. Pumpkin spice, hats, scarves, boots, baking, hay rides, bring it on! Just kidding. It is still in the upper nineties where we live in Texas, so none of those things are in our immediate future, but we can still pretend, right?

I don’t really decorate much any more for fall (I save my energy for Christmas), but I did get curious today about looking through some free public domain art to download. It’s easy to print for at home use, stick it in a frame, and call it fall decor. It’s fall decorating for the non decorators.

I found six prints that I would put in my home, and figured I’d share them with you guys. God bless museums that offer free public domain art online, amirite? It takes some digging to find good ones, so I did that work for ya. Click through some of the following links to download your own art for free. You’re welcome.

Autumn, Bruce Crane

Autumn Landscape, Du Bois Fenelon Hasbrouk

Autumn at Arkville, Alexander H. Wyant

Candlestick Representing Autumn, Giuseppe Barberi

Woods in Autumn, Frederic Edwin Church

A Maple Tree, Autumn, Frederic Edwin Church

These are a few of my favorites I found while browsing. You can easily print them at home, or send them in to your local drugstore that does photo printing. Easiest decor ever! That’s all for today, have a fabulous day!

DIY Projects, Holidays

DIY Christmas Sign

Hello friends! Thanksgiving is over and I’m just here in my stretchy pants trying to recover from the delicious feast fest that was yesterday. Now that Thanksgiving is over though, I am super excited because I can officially without shame decorate for Christmas!

Not like I haven’t had my tree up for weeks. But now I’m going to share my Christmas posts without shame! Anyway, I want to show you guys this super simple sign that I made for outside our entryway. It’s totally something you can do yourself too!

I know this is a super popular look right now, and so I wanted to do my own version with some things I had laying around the house. Here’s what I came up with:

christmassign1

The board was an old child’s headboard I had in the garage. As soon as I got it, I knew it would be perfect for making a sign with. I used acrylic paint from the craft store, and some stencils I’ve had for a long time. So long, in fact, that I don’t even remember where I got them.

christmassign2

I used a pencil to free hand the arrow and the trees. It was so easy it’s not even funny.

christmassign4 christmassign5

This sign along with my mini trees in galvanized buckets are the perfect simple entry way. Now I just have to get Ethan to climb up on the roof to hang the outdoor lights. 😉

It’s super simple and fresh, but I kind of love it. That’s how I like to describe my style, so I think this works perfectly.

If you wanted to recreate this look, you could easily use a canvas or a pre-made wooden sign from Hobby Lobby or Michael’s. It’s a perfect weekend for some DIY Christmas crafts, so get out there and make something you love for your home!

I still have more holiday decorating to do, but I’m happily doing it slowly. I’m taking my time and bringing in the season slowly and trying to savor each moment. I’ll be sharing more of my Christmas decor little by little, so make sure you check back for that!

That’s all for today, friends. Have a fabulous day!

diy-christmas-sign

Holidays

Early Fall Dining Room Table

Guys. I woke up this morning, and it was fall. Like for real. I know the first official day of fall was last week, but today was actually cool and breezy. The sky is gray, and I just feel like getting a raspberry hot chocolate and snuggling on the couch. So now that the weather has finally turned, I’m feeling super inspired to add some fall touches around my house. Last time I shared my dining room here it was in its blank slate form. Now I’ve added some touches for fall, and I’m super excited to share with you guys today.

 falldiningroom1

I’ve been loving natural touches recently, and I loved how this bowl of apples on my centerpiece looks so fresh. Apples are the perfect transitional thing to add from summer to fall. They’re green, which reminds me of summertime, but also fall is when apples are harvested and it just makes me want to make an apple pie.

falldiningroom2

I also used cinnamon sticks to create this look, which I think is another natural touch to the season. It looks fresh and it smells fresh too!

falldiningroom4

This is the first thing I’ve truly “decorated” for a season in our new house, even though it’s been over two months since we’ve moved in. It feels good to put things together in a meaningful way. Setting things out in the house is my way of decompressing and it is what I love to do. This little tablescape totally has totally lifted my spirits and got me in the mood for the season.

falldiningroom5

falldiningroom6

I’m short and sweet today y’all. How do you decorate for the early part of fall. Have you ever considered using fruit as decor? I’d love to hear about it! Make sure you’re following along on Intagram and Facebook so you don’t miss any updates! That’s all for today, friends. Have a fabulous day!

DIY Projects, Holidays

The Importance of Wrapping

When I was a kid, Christmas Eve was a big deal. Our family tradition was that everyone would sleep in the living room on Christmas Eve night, so that on Christmas morning, we would wake up right next to the tree. I remember how much I loved this tradition. I remember the year I pretended to still be sleeping as my parents rolled our new bikes into the living room from the garage. I also remember sitting in my nightgown on my sleeping bag opening my first “grown-up” tape recorder (and by grown up, I mean that it was a normal tape recorder, and not a Fisher-Price one). I spent hours in my room with that tape recorder making my own “radio show,” where I would be the DJ, playing my favorite songs, talking about my favorite things, and interviewing very interesting people (my brother and sister). I wonder if I still have those tapes somewhere.

We all have childhood memories associated with “the best gift we ever received.” Now please don’t hear me say that giving and receiving gifts is the most important thing about the holiday, because we all know it’s not. However, as we do give and receive gifts, we form emotional memories of years past. The feeling you have as a child of tearing open the package is a beautiful feeling. To me, giving gifts is a way of showing you love and appreciate someone.

So why in the world would we not do our best to make our gifts as presentable and beautiful as we can? Again, I am not implying that gifts must be perfect, or that pretty wrapping makes a gift any more meaningful. For me, it is simply another creative outlet. So here are a few of my tips for pretty (and inexpensive) gift wrapping.

giftwrapping3

giftwrapping8

giftwrapping1

giftwrapping5

This paper came from Hobby Lobby last year or the year before, and everything else I had on hand.

Gift wrapping has three important factors: the paper, the ribbon, and some type of embellishment.

Let’s talk paper. I never pay full price for wrapping paper. I re-use the same paper from previous years most of the time. I also pick up a roll or two the day after Christmas when everything is marked down 50-70% off normal retail prices. If you’re without holiday paper, have no fear! One of my favorite things to use is plain brown craft paper because it works for all occasions. Baby shower? Check. Christmas? Check. Birthday? Check. Wedding gift? Check. You get the point. You can also use black and white newspaper (I have seen some GORGEOUS wrapping using newspaper), wrap your gift in a scarf (both pretty and reusable!), or in a real pinch, use any themed paper on its opposite side so that it simply shows white.

Next up is ribbon. The options are unlimited! I do occasionally use normal cloth ribbon, but my favorite things to wrap a gift in is regular twine, or colored baker’s twine. My suggestion is to look around your house and see what you can find. Thinly sliced strips of a coordinating wrapping paper can work as ribbon as well. A thin scarf can work here as well. Don’t go out and buy something new every time you have a gift to purchase. Look around your house and I’m sure you can come up with some thing to wrap your gift in. There’s a reason Julie Andrews mentions “brown paper packages tied up with string” as one of her favorite things…the string is an important detail!

Lastly, let’s talk about embellishments. I think a gift looks perfectly topped off with anywhere from one to three finishings. The amount, of course, depends on what it is that you’re using. I like to use a lot of natural things, such as small pinecones, sticks, dried citrus slices (see my tutorial for that here), cinnamon sticks, leaves, pine clippings, wood slices. The possibilities are endless. I also often add a name tag of some kind, just so that I don’t forget who the gift is for after I finish wrapping it. For kids, you can add a tiny toy as embellishment, or a pretty piece of candy. This is the step that brings it all together, so it’s an important thing to add. The good news is that you can add just about anything you want here, so you can certainly find something you have at home or go out into your yard and find something just as easily.

How do you wrap your gifts? What’s your go-to accessory for finishing your wrapping? I’d love to hear about it! Be sure to follow me on Instagram @rumfieldhomestead for the latest updates on what I’m doing! That’s all for today, friends! Have a fabulous day!

Holidays, Home Decor

My Christmas Decorating Secret

Christmas prep is in full swing over here! I’ve been super busy with the semester winding down at school, and the buzz of Christmas is alive and well in first grade. Thankfully there’s just ONE WEEK left of school before it’s officially Christmas vacation! Our home is fully decked out for Christmas, and I am *almost* done with my Christmas shopping. There are always those last minute things to get accomplished, but I can’t deny that I love the hustle and bustle of the holiday season.

Today I want to share with you all what I’m deeming THE BEST KEPT SECRET OF CHRISTMAS (y’all know I’m dramatic). Seriously though, if you’re cheap like me, you’ll want to keep reading.

I was too impatient this year to wait around for the real Christmas trees to come out, and so we caved and bought an artificial tree in early November. I don’t regret that at all, however, we missed the homey scent that comes with a real tree. Ever the optimist, I came up with a plan to get the best of both worlds: get an artificial tree early in the season, and still have the homey smell of a real tree. I was inspired by some friends who used tree clippings from their yard to make garland for their staircase. Now, I have neither a staircase nor the proper tree (nor the money to spend for that matter). But that has yet to stop me!

Here’s what I did. THIS IS THE SECRET, SO READ CLOSELY. Did you know (I didn’t) that Home Depot has their own tree selection (0kay this part I knew, but the rest I didn’t)? Each time someone purchases a tree, they trim the bottom/excess and put the clippings in a large bin. Here’s the cool part: the clippings are FREE for anyone to take. I said they’re FREE!!! How awesome is that?!

We simply asked the kind gentleman at the cutting counter for the clippings, and he directed us to the free bin. I may be the only person on the planet who didn’t know this, I don’t know. But if there’s someone out there who is like me, you might be excited to find this information out. I broke the boughs down when we got home and placed them in various places around the house.

treeclippings

treeclippings2

treeclippings3

treeclippings4

treeclippings5

treeclippings6

I spread them out all around my home in jars, vases, wreaths, and mixed in with my decor. It smells amazing! We’ve had our tree up for weeks, but now it smells like Christmas in our home too! I think my favorite look is in the first picture, the cuttings in a big bucket. Having these clippings around makes the house not only feel homey, but it also adds to the rustic/primitive look I was going for this year.

I got mine from Home Depot just because that was the closest thing to us locally, but I’ll bet you could ask just about anywhere trees are sold and you’d be able to take some some clippings free of charge. I’m a pretty budget conscious gal, but this is big even for me! The clippings make an impact in several rooms in our house and it cost me nothing at all!

Have you done this before? Did you already know about The Best Kept Secret Of Christmas? I’d love to hear about it in the comments below or if you plan on trying it this year. That’s all for today. Have a fabulous day, friends!

Holidays, Tutorials

DIY Citrus Slice Ornament

HAPPY DECEMBER Y’ALL!!!! Okay, I’ll admit I’m excited. It’s officially the Christmas season now that it’s December. I can post all the photos of my tree and Christmas decor without shame! It’s a wonderful world, friends.

Today I wanted to show y’all the last of my DIY ornament ideas. My Christmas decor this year is super rustic and primitive, and so this last DIY was the one that I really think brought the whole look together. If you haven’t seen the other two ornament DIYs, you can check them out here and here. I remember seeing photos of dried fruit as Christmas decor years ago, but I never really thought anything of it until this year. I needed something with a pop of color, and so it was time to test out this project!

citrus slices

The first thing I did was slice several oranges and lemons. I think I did four of each. I wasn’t sure which I would prefer, so I did both. I cut the ends off and simmered them on the stove using this recipe so they wouldn’t go to waste. citrus slices2

I separated the oranges and lemons on my (badly stained) cookie sheets so that if they cooked at different rates it would be easier to remove them from the oven. I placed them on the lowest setting on my oven (I think it was about 150 degrees) and put the slices in. In total, I cooked them for about five hours. Every hour or so, I would turn the slices over so that they would dry evenly. I really don’t know if this necessary, but I’m a little paranoid. The good thing about the temperature being so low is that I could turn the slices over with my bare hand. In general, the lemons cooked a bit faster than the oranges did, because they were thinner I think.

citrus oranment1

After they were fully dehydrated came the fun part! I cut little pieces of red baker’s twine, the same twine I used previously on our pinecone ornaments, and hot glued it to the back to make a loop. Easy.

citrusornament3

When they were finished, they looked like this, and I am so excited about how they turned out. They have just the look I was hoping for. As it turned out, I ended up liking the orange slices better than the lemon slices because the oranges had a thicker rind (is that the right word? I don’t even know.). I did these a few weeks ago, and they’ve lasted just fine, which was an initial concern of mine.  I love the way the tree lights shine through the fruit. It feels super cozy! I also placed some of these slices on the wreath I have on the front door, and I love how it feels there too! I’m deeming this year “the year of the fruit” when it comes to decorating.

I’d love to hear what you think, and if you’ve tried this out. That’s it for today. Have a fabulous day, friends!

Holidays, Tutorials

DIY Wood Slice Ornament

Hey y’all! Thanks for stopping by! Can you believe Thanksgiving is just around the corner? I’m SO READY for the turkey and mashed potatoes!  Seriously, that’s all I eat on Thanksgiving. I’m a really picky eater, I know. Don’t shun me, but I don’t even like pumpkin pie (even my mom’s). But I am all about turkey and mashed potatoes. This year I’ll be flying up to New York to spend the holiday with my family. It’ll be a super short trip, but I’m excited nonetheless.

Now, my family doesn’t have a tradition of setting up the tree the day after Thanksgiving, but I know that many people do. Growing up, we didn’t set it up until about a week before Christmas. Ethan and I have had our tree up for about two weeks now, so I guess you can say I’ve strayed as far from that tradition as possible. All that to say, I know a lot of y’all put out Christmas decorations Thanksgiving weekend, so I wanted to share another homemade ornament idea I’ve come up with for my home.

If you haven’t checked out my first post on pinecone ornaments, you can read all about that here. I wanted to keep with the primitive, rustic theme I had going on, so I added these wood slices and I am in love with how they turned out. Seriously y’all, this is the easiest DIY yet.

I bought some pre-sliced wood at a flea market for a steal. You could just as easily get a thin log and slice it yourself though. My slices were probably about a half an inch thick. First thing I did was drill a small hole near the top of the slice. The trick is to not drill too close to the top so as not to split it. I accidentally broke a few of them, but I had about twenty to start with, so I was okay with losing a few.

wood ornament1

After I drilled the holes, I strung some ribbon I had through the hole. I found this ribbon at Michael’s on sale. I was originally looking for a cream-based red gingham ribbon, but I found this one and it stuck out to me. I really like the way the plaid has an old-fashioned vibe. So this is the one that ended up in my cart.

wood ornament2

I thought about hand lettering something on each of the slices to complete the look, but ultimately decided against it. The reason why is simply because I thought I might reuse them in the future for something else, and I wanted them to be bare just in case. Also, I figured (since I’m so darn fickle) I might not like them as much next year if they were written on, so didn’t want to do anything I would regret.

So here they are in all their bare wood slice glory:

wood ornament3

The easiest project you ever did see.

Will you be setting up your tree next weekend? If so, why don’t you give this easy project a try? I’d love to see how you use this simple idea in your home.

Have a Happy Thanksgiving friends! And a Happy Decorating! That’s all for today. Have a fabulous day, friends!

<a href=”http://www.bloglovin.com/blog/13855015/?claim=9a8yvxbhj62″>Follow my blog with Bloglovin</a>

Holidays, Tutorials

DIY Pinecone Ornaments

I know it’s still early….but I have begun decorating for Christmas at our house! Last year, we got a real Christmas tree, which I loved having. They smell so good, and they’re so nostalgic I think. The only downside to them is that they don’t come out until early December because they don’t last very long. Which I suppose I can’t be upset about, but I was so impatient this year that we went out and got an artificial tree. I had too many decorating ideas that I couldn’t wait to get started.

So, now that our tree is up, I wanted to share with you a few of the quick projects I did for our tree. If you know me at all, I’m all about finding the cheapest way to do things, and so I created a few different types of ornaments on a shoestring budget. For our tree this year (and all of the decor, really) I wanted to go with a very natural, rustic-y, theme. I had a hard time putting into words exactly what I was going for, even to Ethan. I just kept saying to him, “I want it to look like how the pioneers would decorate a tree if they had one.”

As if that even makes sense.

Anyway, today I’m sharing how I turned regular pinecones  into ornaments for our tree. This is so simple, it’s even kid friendly!

pineconepaint

I painted the edges of several pinecones using some paint I had on hand. The color is Mourning Dove by BEHR. I’ve used it for a lot of projects, and it’s one of my favorite off-white colors. I didn’t worry about painting too neatly, I just kind of quickly brushed on the edges of the pinecones. I wanted to make it look like snow, because, you know, that makes total sense in Texas.

pineconeglue

When that was done, I put a dot of hot glue into the top of the pinecone. I tried to tuck it down inside so that hot glue wasn’t too visible once they were hung on the tree. pineconeornament

I added about a four inch piece of red baker’s twine in a loop to the hot glue. I bought the twine from the Target dollar spot. Can we just give a quick shout out for the Target dollar spot?! I swear, that place is like magic. Anyway, I chose red so it would have a little Christmas-y pop. And when it was done, it looked something like this:

pineconeornament2

This is by no means an original idea, I’m sure it’s been around for ages, but it’s something I whipped up super fast, and I wanted to share with y’all. I don’t have kids, but this could easily be done with little ones…it’s THAT easy. Plus (in my personal opinion), super cute. I’ll be sharing a two other ornament ideas soon, so stay tuned!

I hope you give this one a try! I know I’ll be enjoying them this season.  Well, that’s all for today friends, have a fabulous day!

DIY Pinecone